
The originals were made at the same time I made the OF MF patterns on the laser cutter. I.e. these were made back before I knew about the importance of draft lines, fillets, etc. in patterns.
You may also recall that, prior to making the latex molds for these and the MF patterns, I used epoxy to "fix" the hard vertical edges but only in the MF patterns. I didn't do this to the jar patterns because: A) I didn't know how well it would work and B) those were the harder patterns to make and didn't want to risk ruining them if "A" went out poorly. I figured if it turned out to work on the MF patterns, I'd do it to the jar copies at a later date.
Well, that time is now. Since the copies are white, I thought it'd be easier to use a little color so that I can see how much epoxy I've added to the pattern so that I don't over do it. Even with the darker MF patterns, the clear was hard to see and I ended up doing a little too much in several areas on one of them.
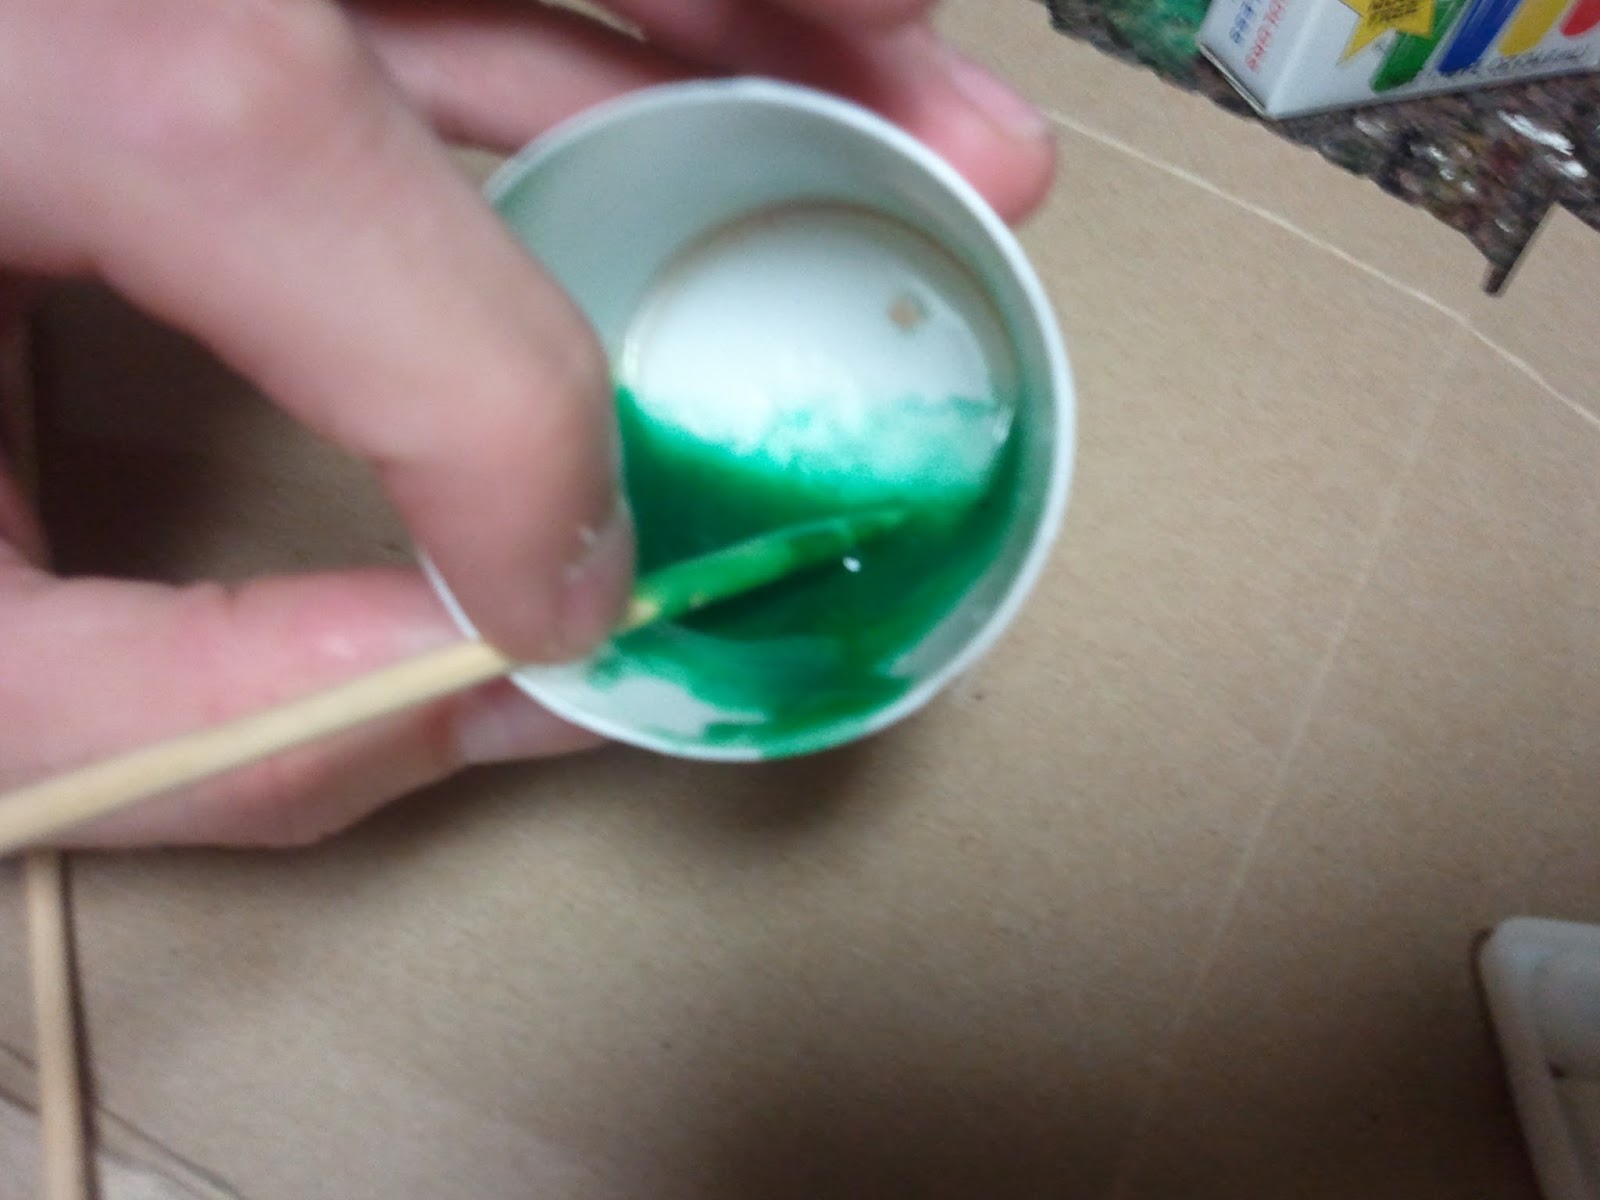
Turns out, you can use food coloring in 2-part epoxy. I searched the interwebs before I tried because I wasn't certain how it would affect the chemical reaction between the liquids. Naturally, I found answers all over the spectrum, NPiTD. Lacking a definitive answer, I decided to go old school and actually try it. While I wouldn't do this if it were relying on the bonding properties of the epoxy, nor if these were finished products (as there are more appropriate color additives), it seemed to work fine. This was two drops worth.
Now I didn't pick the colors to be cute (except for the jar and moon portions, I was just having fun there). These were quite a bit harder to fill in due to the large amount of recessed area but they turned out okay.

I'll sand down the tops slightly to get rid of the drops where I ran over. And then it's a matter of trying them out in a mold.
No comments:
Post a Comment